Banks – Entertainment Room
| Room | Entertainment Room |
|---|
This particular room in this four-story townhouse in Houston was unfinished and unfurnished, save some motorized, push-button blackout shades. But as we were remodeling other areas of the home, it occurred to us that there was an elegant entertainment room here just waiting to be brought to life.
The ‘star of the show’ would be a top-end entertainment center installation that was equal parts functional and eye-catching. Everything would be custom-built to accommodate exactly the two featured electronic devices: the TV and the “fireplace.”
Phase 1: Flooring and Frame

The first step was to put down the flooring under the area where the entertainment center would rest, removing the baseboards so that it could rest flush against the wall. Then we crafted the entertainment center from solid wood, making it incredibly sturdy.
In the heart of the center we left a gap, noticeable enough at this stage but to be completely hidden once the TV was mounted. This was the storage niche, cleverly included at the owners’ request to house game consoles, cable box, and any other equipment to keep it out of sight and maintain the clean appearance of the whole unit.
Phase 2: Durock Cement Boards

Onto the wood we attached Durock cement board. Durock is great because it’s lightweight but tough with strong edges that don’t crumble in installation, and tile sticks to it extremely well.
Inside the storage niche we added two studs that would support the TV by giving us something to bolt the bracket into. We also ran the necessary wiring to the back of the TV for power, TV, and internet.
Phase 3: Porcelain Tile and Schluter Trim
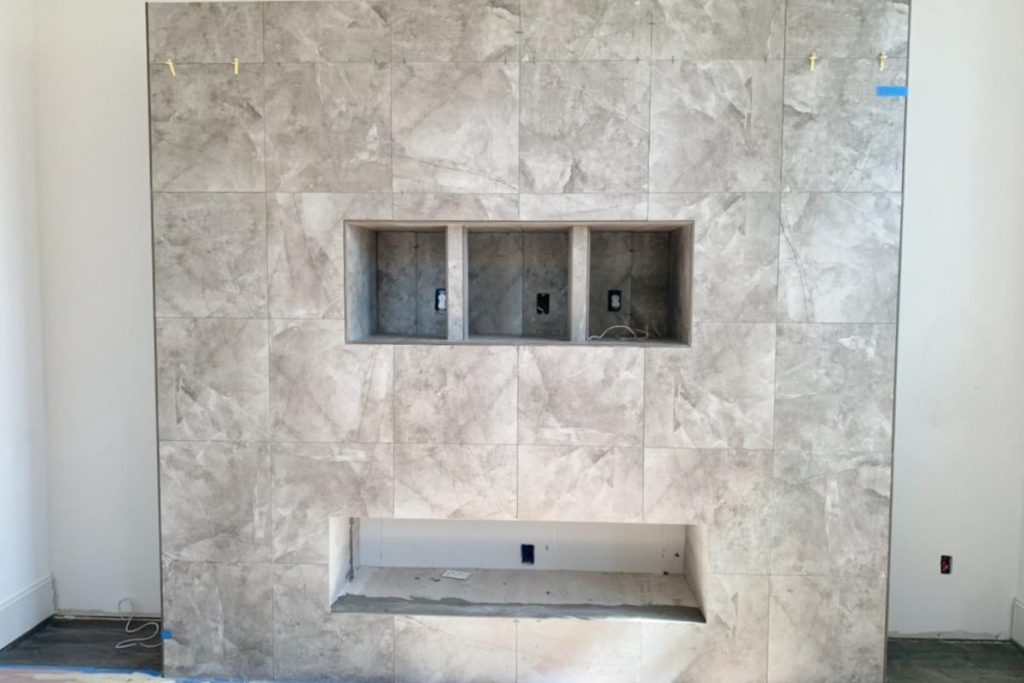
On top of the Durock went the marble-esque porcelain tile the owners picked out. Our slots for the soon-to-be-installed electronics, which had been carefully calculated and measured so that everything could slide right in, were now clearly defined. We also repaired the back wall in preparation for the placement of cabinets.
At this point we also incorporated one of our favorite accoutrements to the edges of the niche and the center itself: Schluter trim. These metal strips attach to the outside edges of the tile to protect them and give them a finished look. They come in a variety of finishes, but we went with stainless steel to match the gray of the porcelain.
Phase 4: Display Cabinets and TV Mount
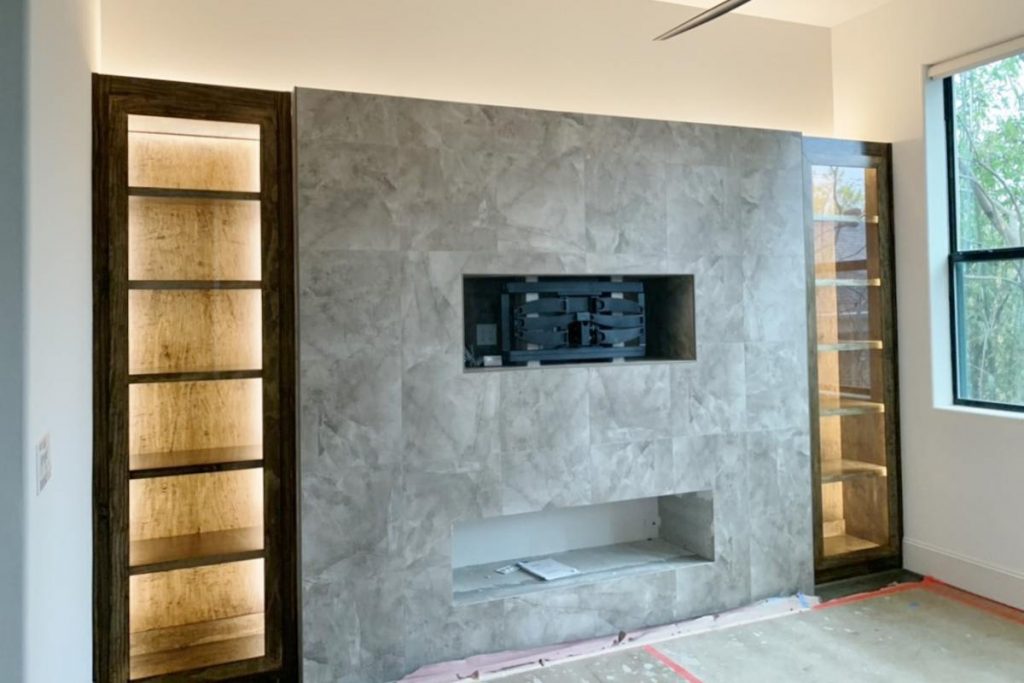 The entertainment center really began to take shape once the display cabinets were installed, also handbuilt by our carpenter, and the dimmable uplighting installed inside. The TV mount was an impressive piece of equipment, able to swing out several feet and pivot so that the TV could be viewed from virtually anywhere in the room.
Phase 5: LED Electric Fireplace
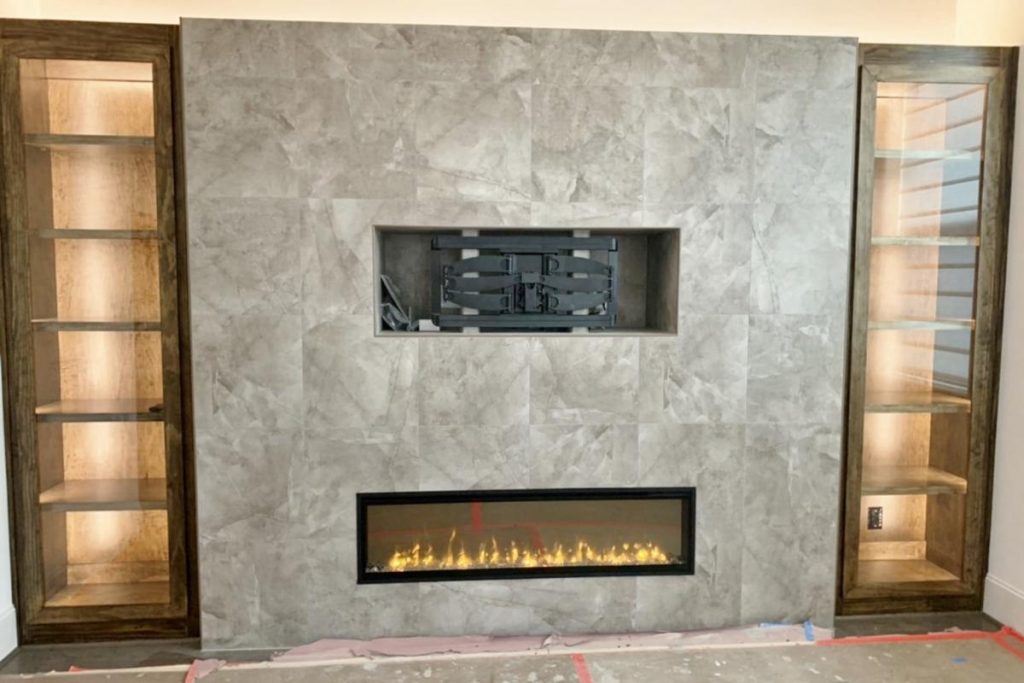
‘Lighting the fire’ was one of the last steps, only in this case it meant embedding the all-LED electric fireplace insert. These units are really fun and some brands come with remotes, touch screens, timers, and even built-in heaters. This model lets the owners change the color of the crystals at the bottom, as well as the flames.
Watch the Fireplace’s Changing Colors: Golden Yellow to Emerald Green
Phase 6: Furniture and Decor
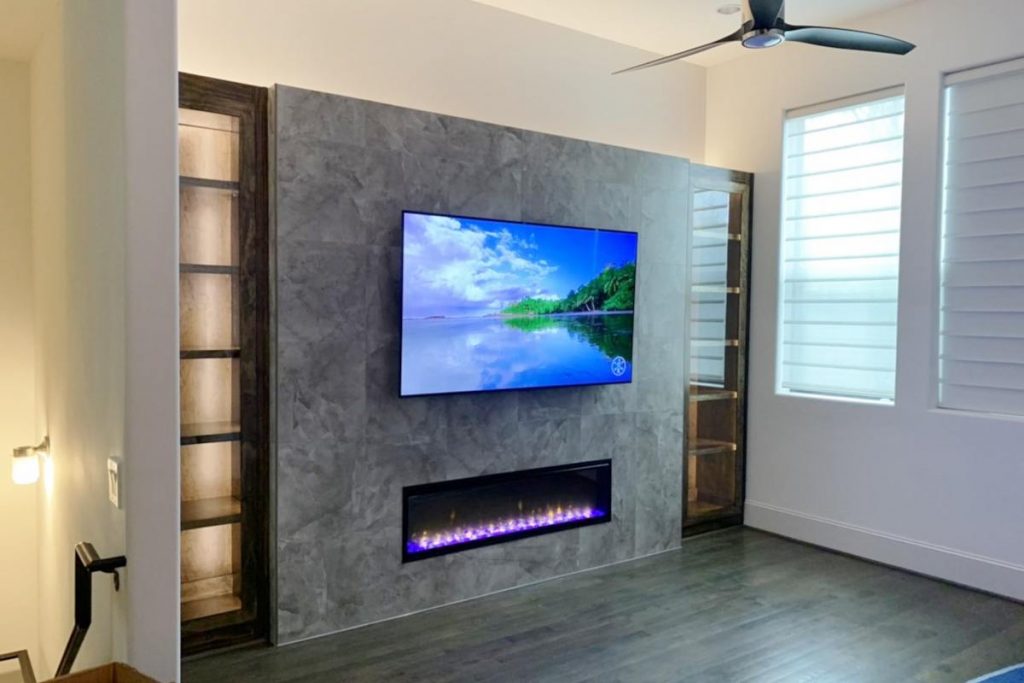
With the TV mounted, the faux wood plank flooring down, and a modern-style three-blade fan installed, the only thing left to do was bring in the furniture and decor.
Phase 7: Sit Back and Relax
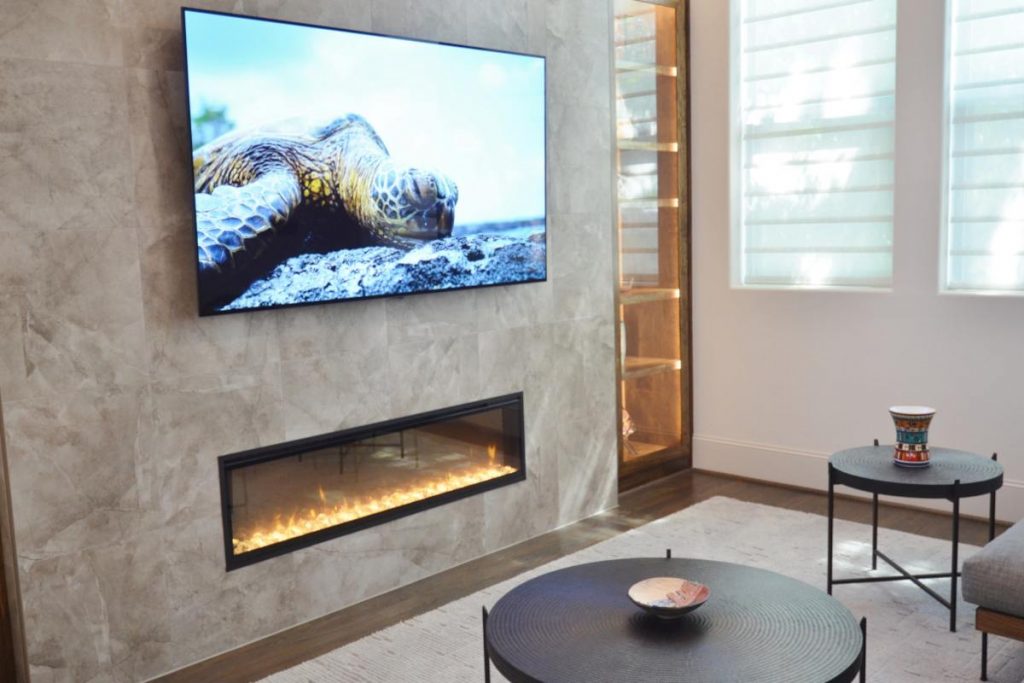
The happy owners were now ready to close the shades and enjoy their brand new entertainment room!